Assembly Instructions
On this page you will find general instructions that apply to all our acrylic models, followed by links to detailed, step-by-step assembly videos for each individual model. These models generally take 15-20 minutes to put together, and do not require any gluing, cutting, painting, sanding, or any other tedious model-building steps (except for peeling film off of sheets of acrylic, which some people actually enjoy). All kits include everything needed to finish the model, even a screwdriver. Please read the following instructions before starting your first model.
Watch The Video!
Yes, You!
I can't say it strongly enough: for every model there is a detailed step-by-step video that shows how to put it together, and you should watch that video! You don't have to watch it first, just lay out the parts, peel off the protective film from all the acrylic parts (see below), then start the video and pause it every time you need to do the next step. If you're super-efficient, you might even be able to put the model to together in real time as you're watching the video.
Can you do it without watching the video? Maybe, but it will take twice as long be very frustrating. For example, Chris tried to put together the Pin-Tumbler Lock model without watching the video, and lost a spring when it went flying across the room. The video shows how do it in a way where that won't happen. Sally put together the Two-Eccentrics Steam Engine without watching the video, and now her refrigerator is making a funny noise. Don't take a chance, watch the video!
Notes
1) Acrylic is very beautiful, but it's also brittle. If you stress it too much, it will break, not bend. Be careful with smaller parts, especially ones that have narrow necks at connecting points. These are not rough-service toys for toddlers.
2) Sometimes small bits, like the centers of holes or material around small, complicated parts, will not separate completely. The extra material should easily pop out with gentle finger pressure, and can be discarded.
General Instructions
Step 1) Peel Everything!
All the laser-cut acrylic parts in your model come with the protective film still on both sides (except the tiny round washers). This protects the parts from scratching during shipping. There are several kinds of film, depending on the type and thickness of the sheets. Some have paper, some have blue or white plastic film, and some have a milky, translucent film. All the parts are crystal clear inside: If it doesn't look clear, or if it has black lines marked on it, it's got something on it that needs to be peeled off.
To remove the protective film, use a fingernail or the acrylic peeling tool we include with every kit to pick up the film at one corner, then pull it slowly up and back. You may need to clean up the edges a bit if the film doesn't all come off in one piece: use the peeling tool to get all the film off. It might seem crazy, but yes, we have recorded a video that shows how to do this. You might actually find it entertaining.
Step 2) Lay out all the parts
It's a good idea to get everything laid out on a clean surface before you start putting things together. That way you'll be able to find the parts you need as they come up in the assembly sequence. In any of the kits that include confusingly-similar lengths of screws, we include a screw length gauge, and subtitles in the video tell you the length of each screw as it comes up. This video shows you how to use the gauge.
Step 3) Watch the assembly video
In the videos below we will show you step-by-step exactly how to assemble each model. There are several models that can be a bit tricky to get together if you don't do them in the order shown. Some of them also have parts that can fit in more than one way, but only one is correct. The videos show you exactly what to do.
Locks

Pin Tumbler Lock

Gift Card Lock Box

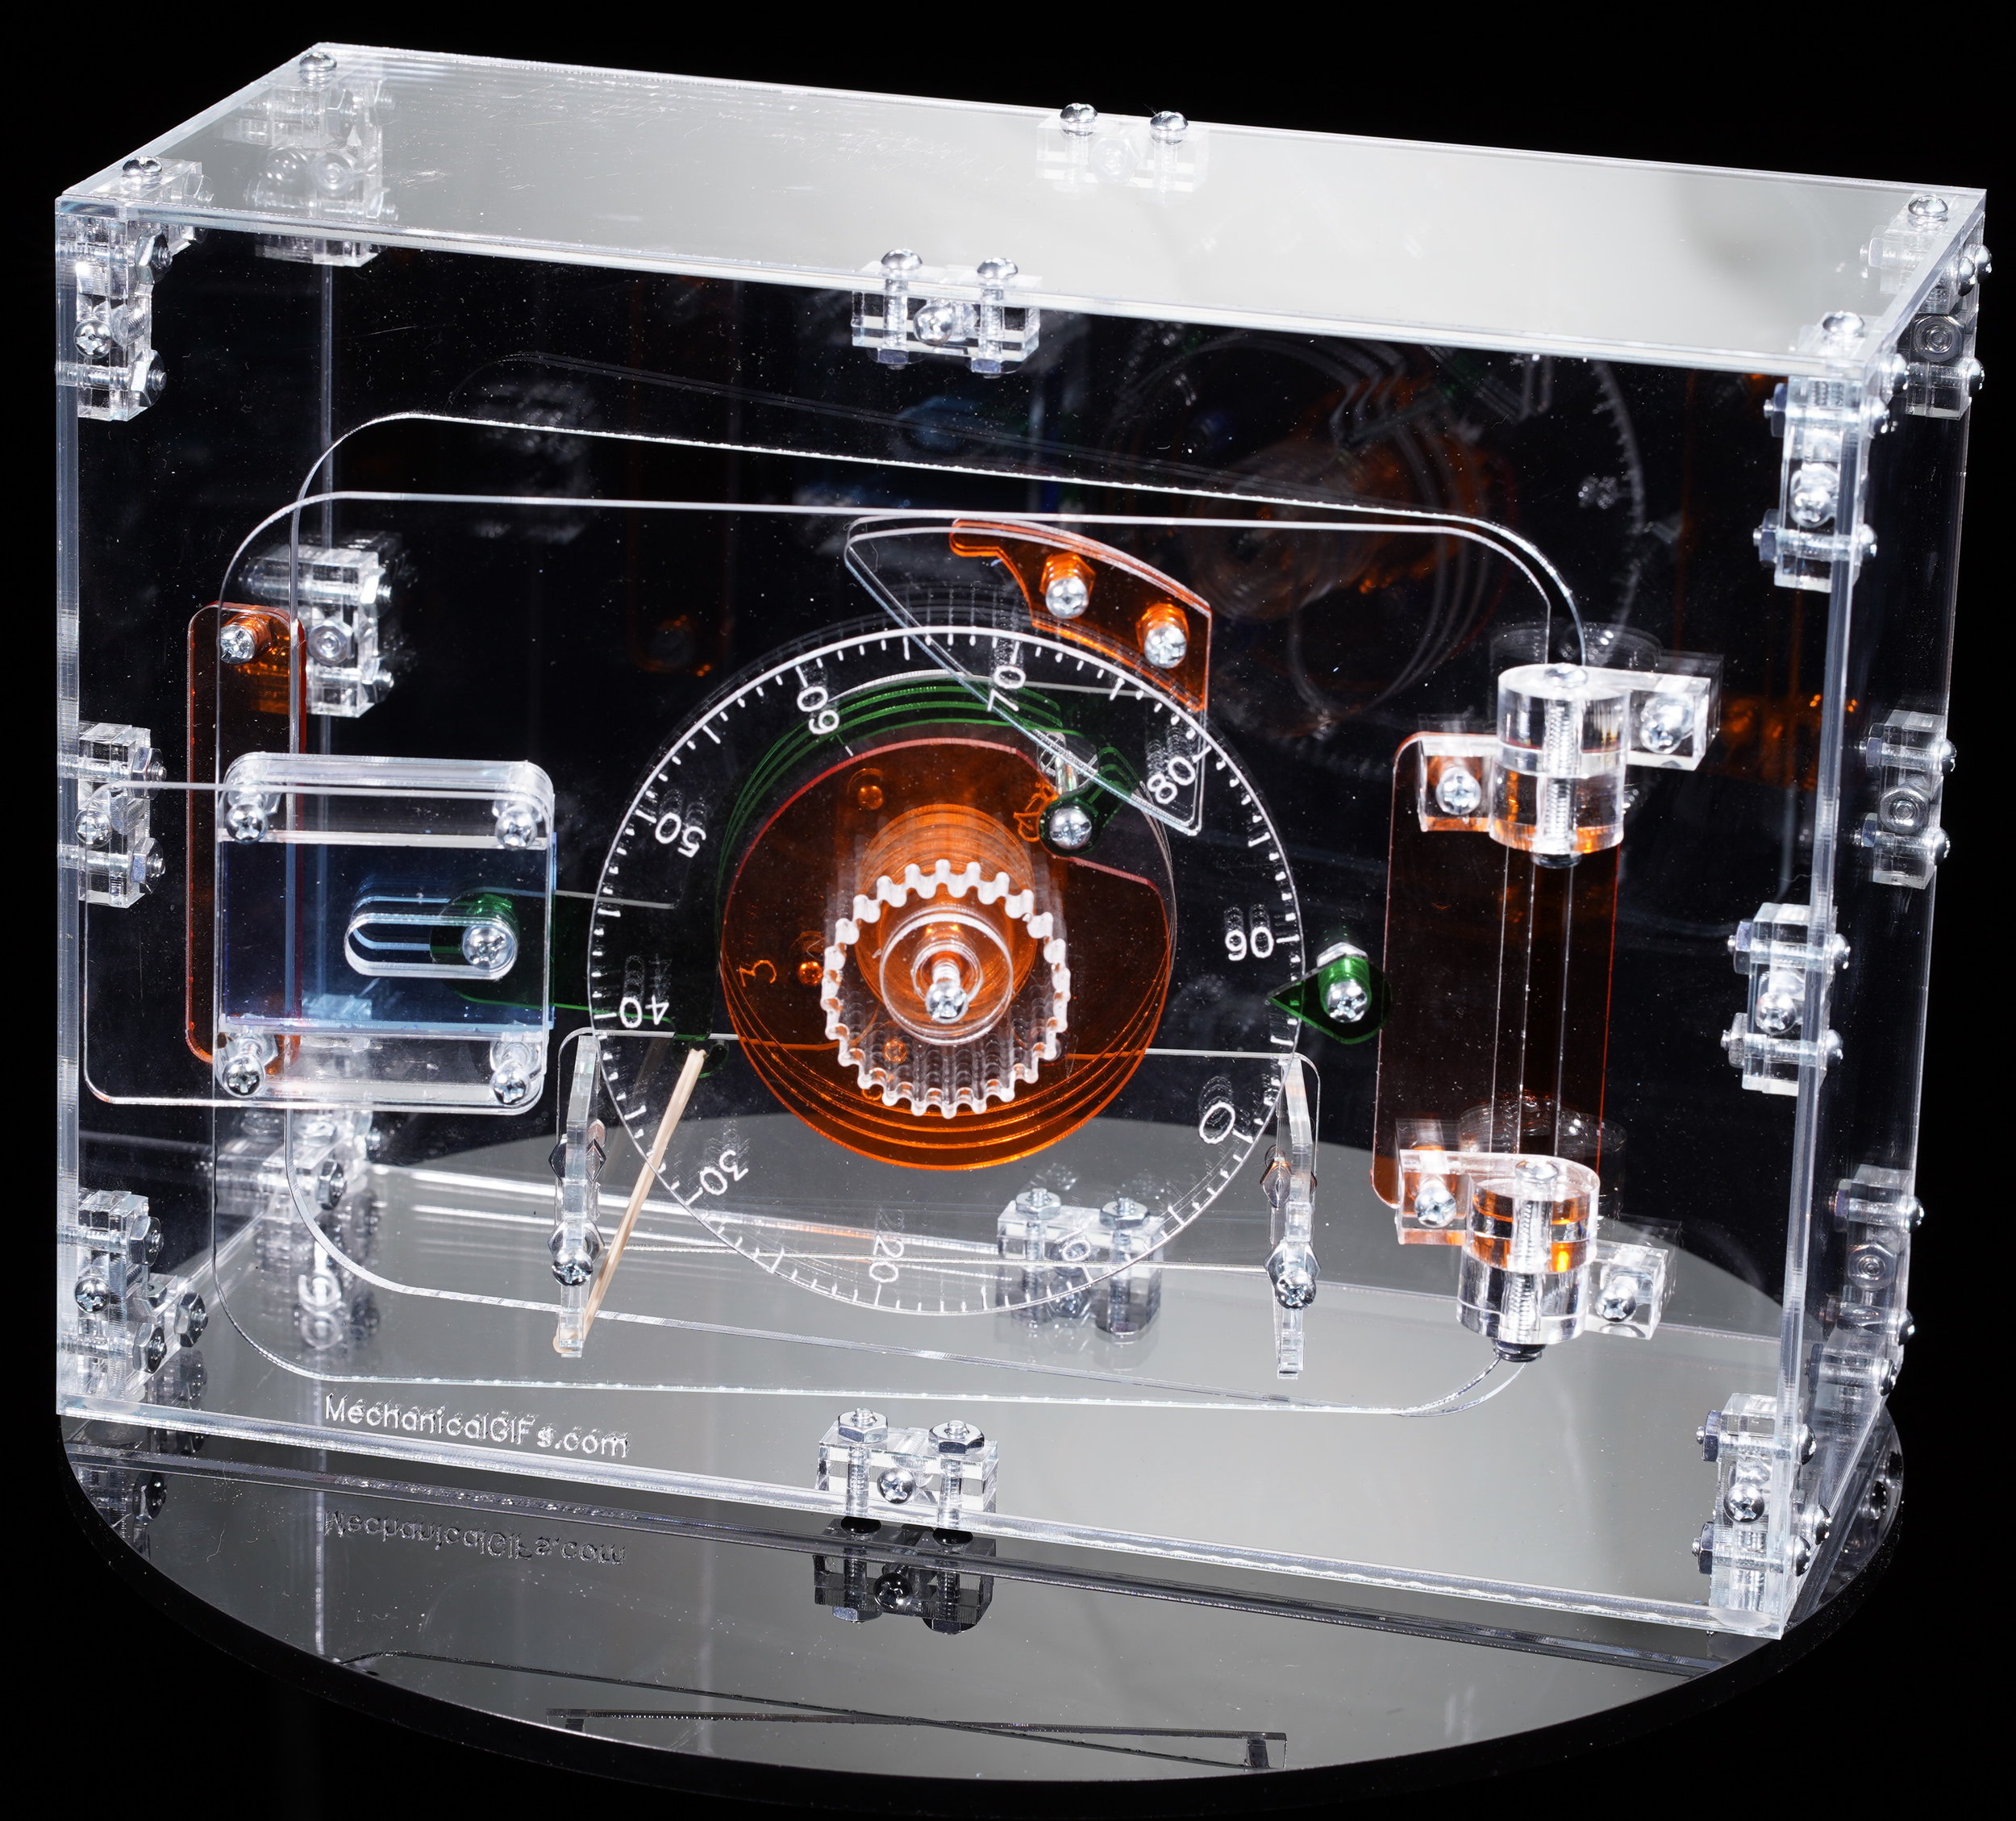
Combination Lock
Safe
Complete Cars


Radial Engine Car
Engines

Single Overhead Cam Internal Combustion Engine
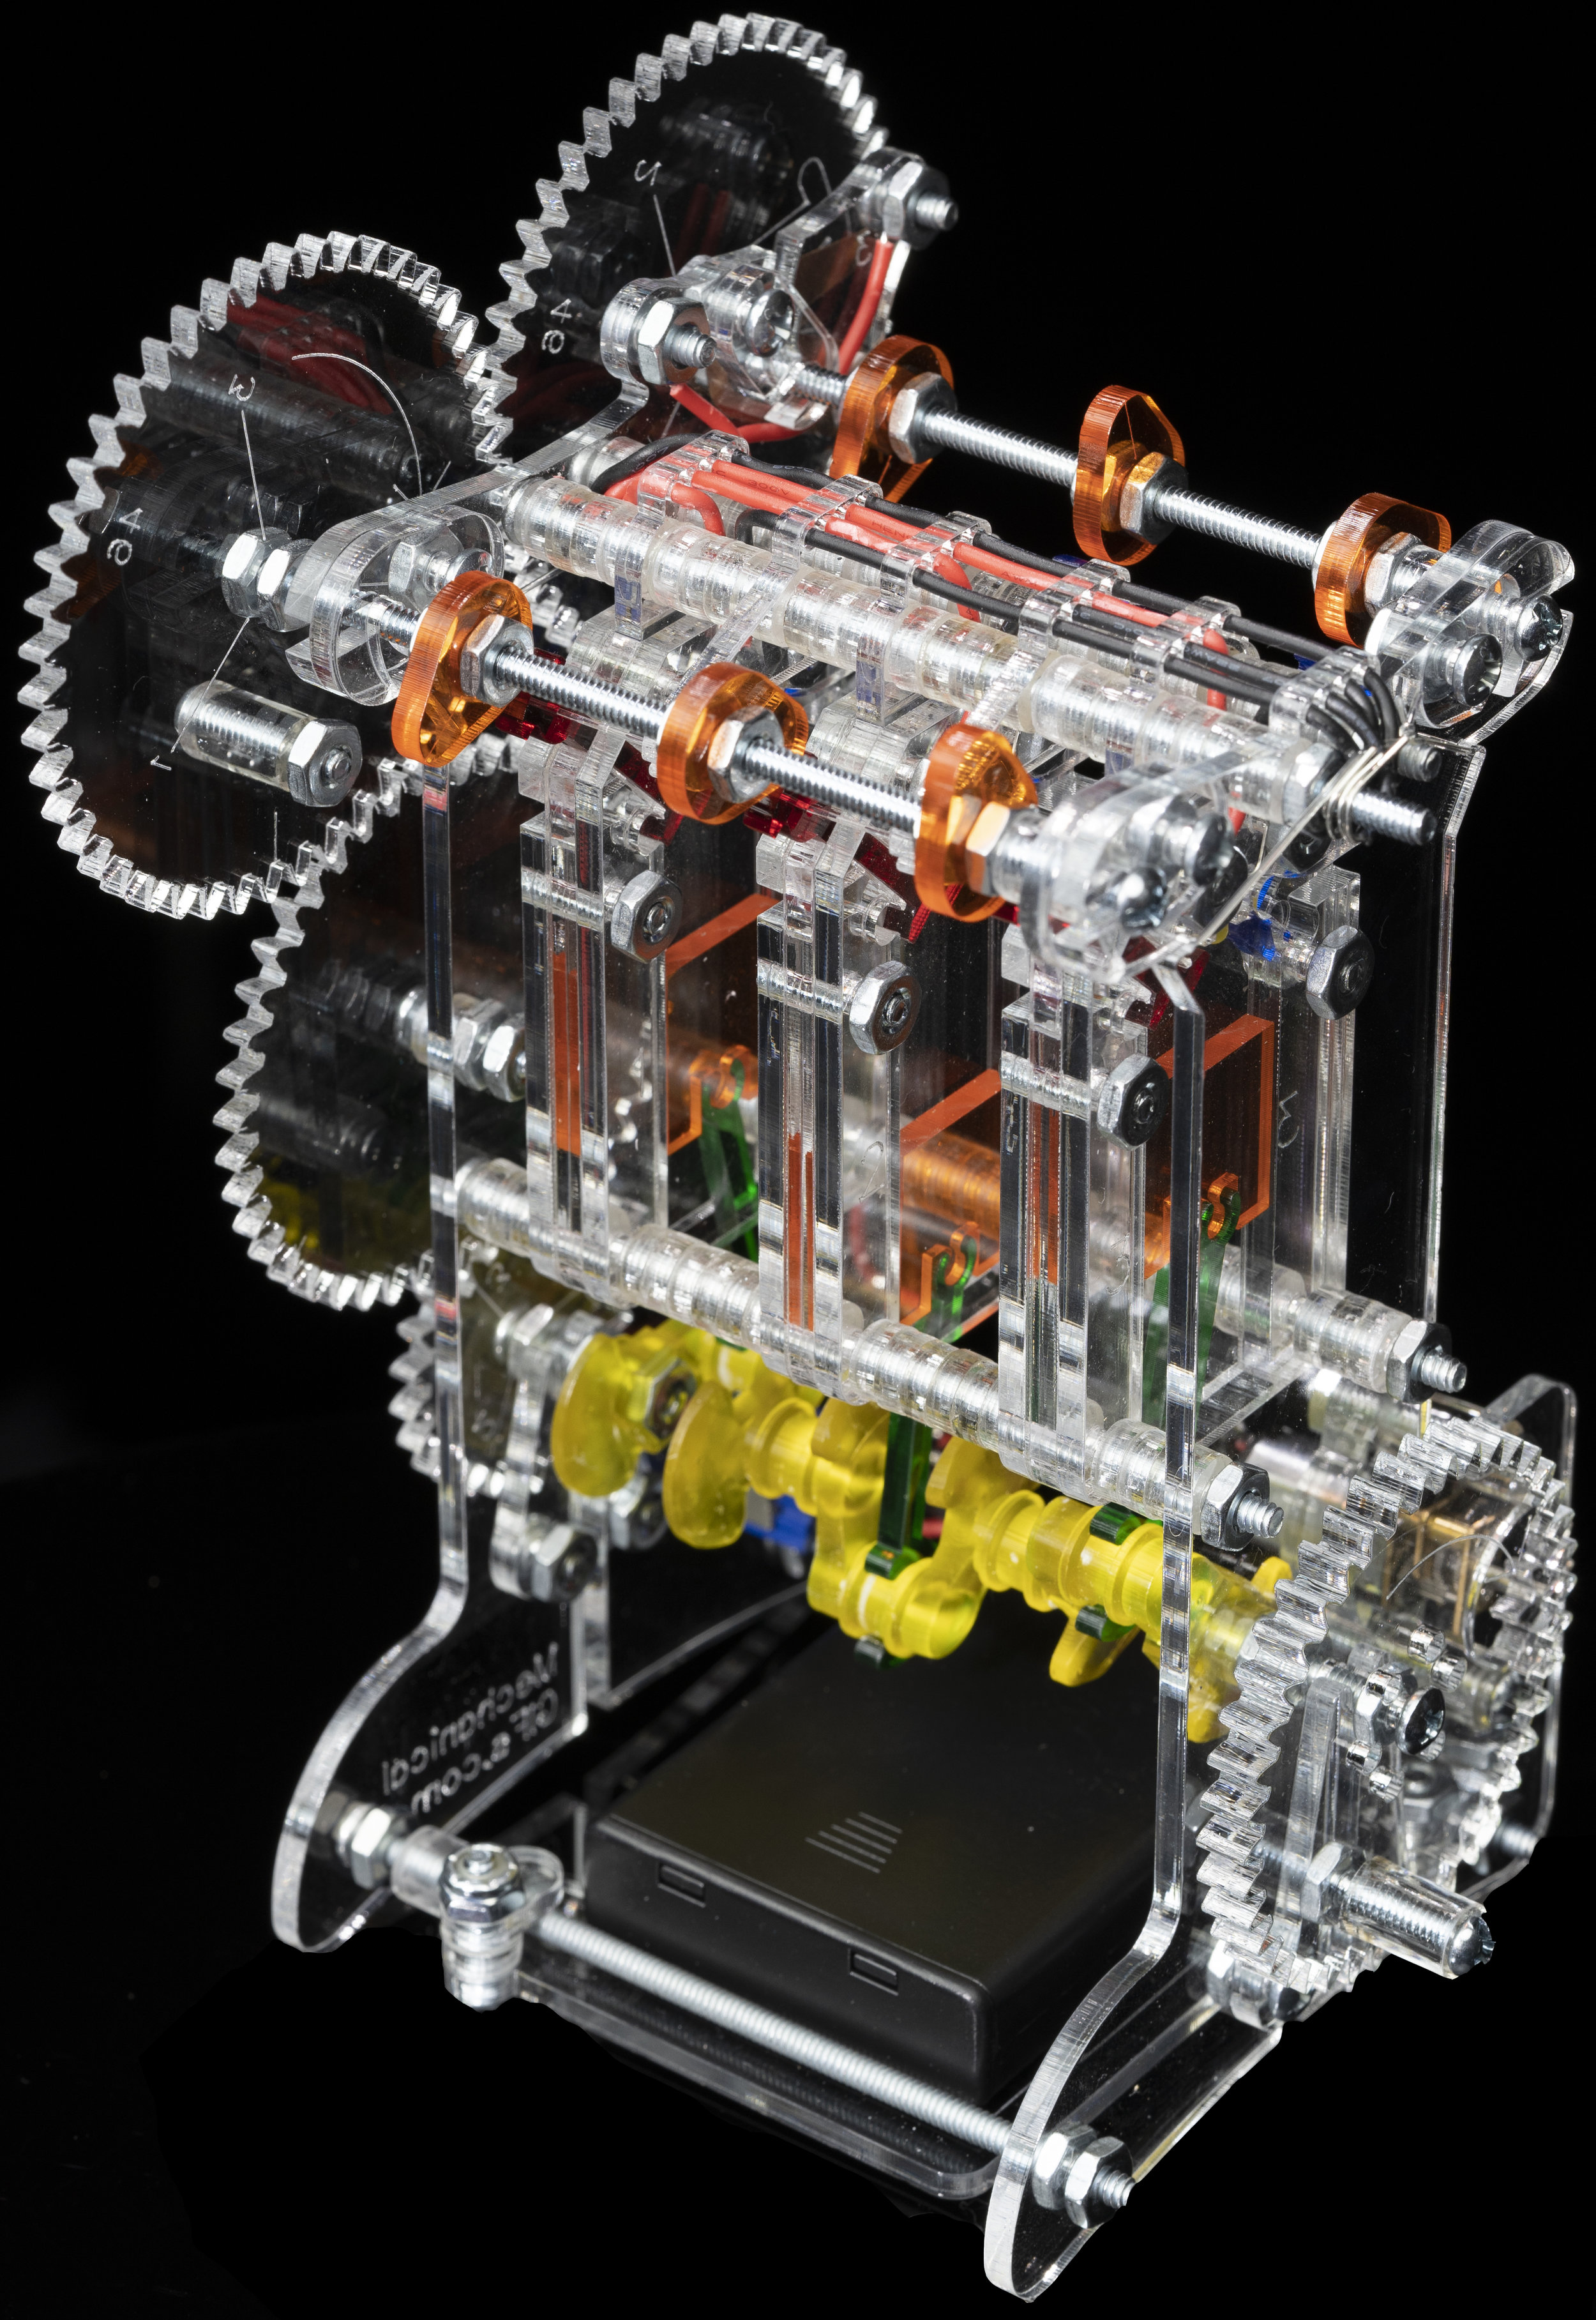
Dual Overhead Cam Internal Combustion Engine
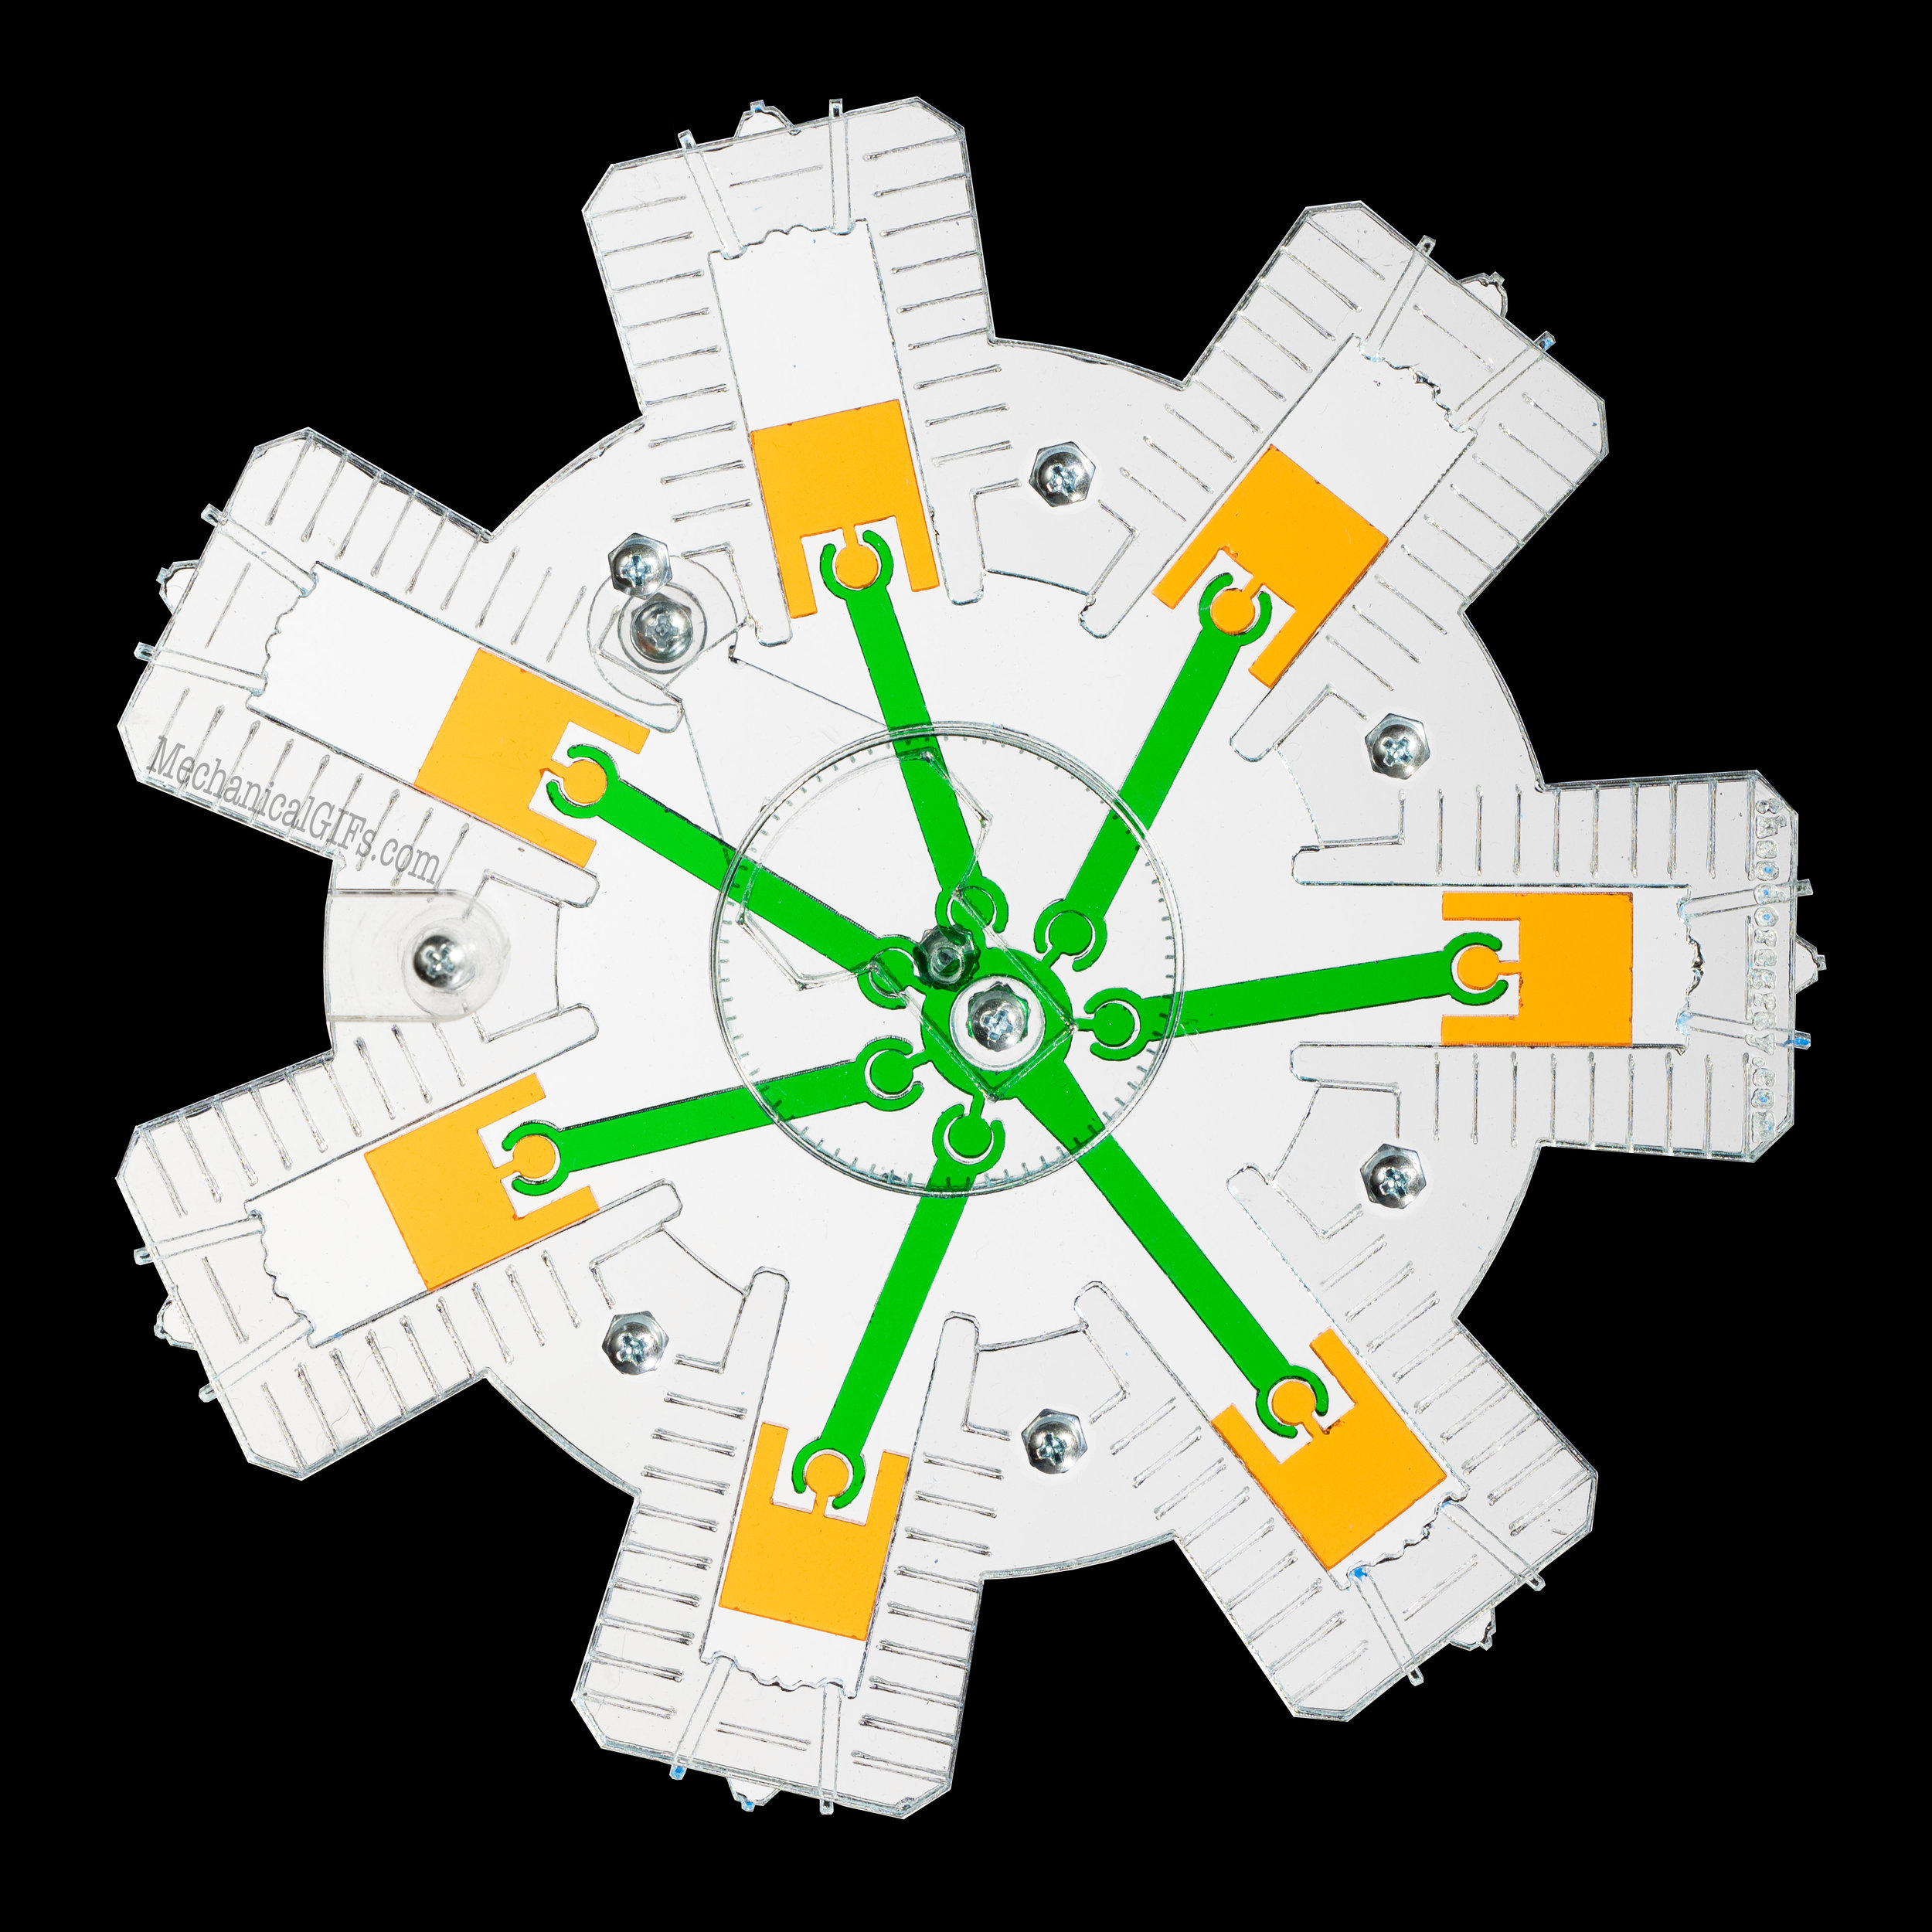
Radial Engine

Two-Eccentrics Steam Engine

Folded Steam Engine

Right-Angle Steam Engine

One-Crank Steam Engine

Corliss Steam Engine

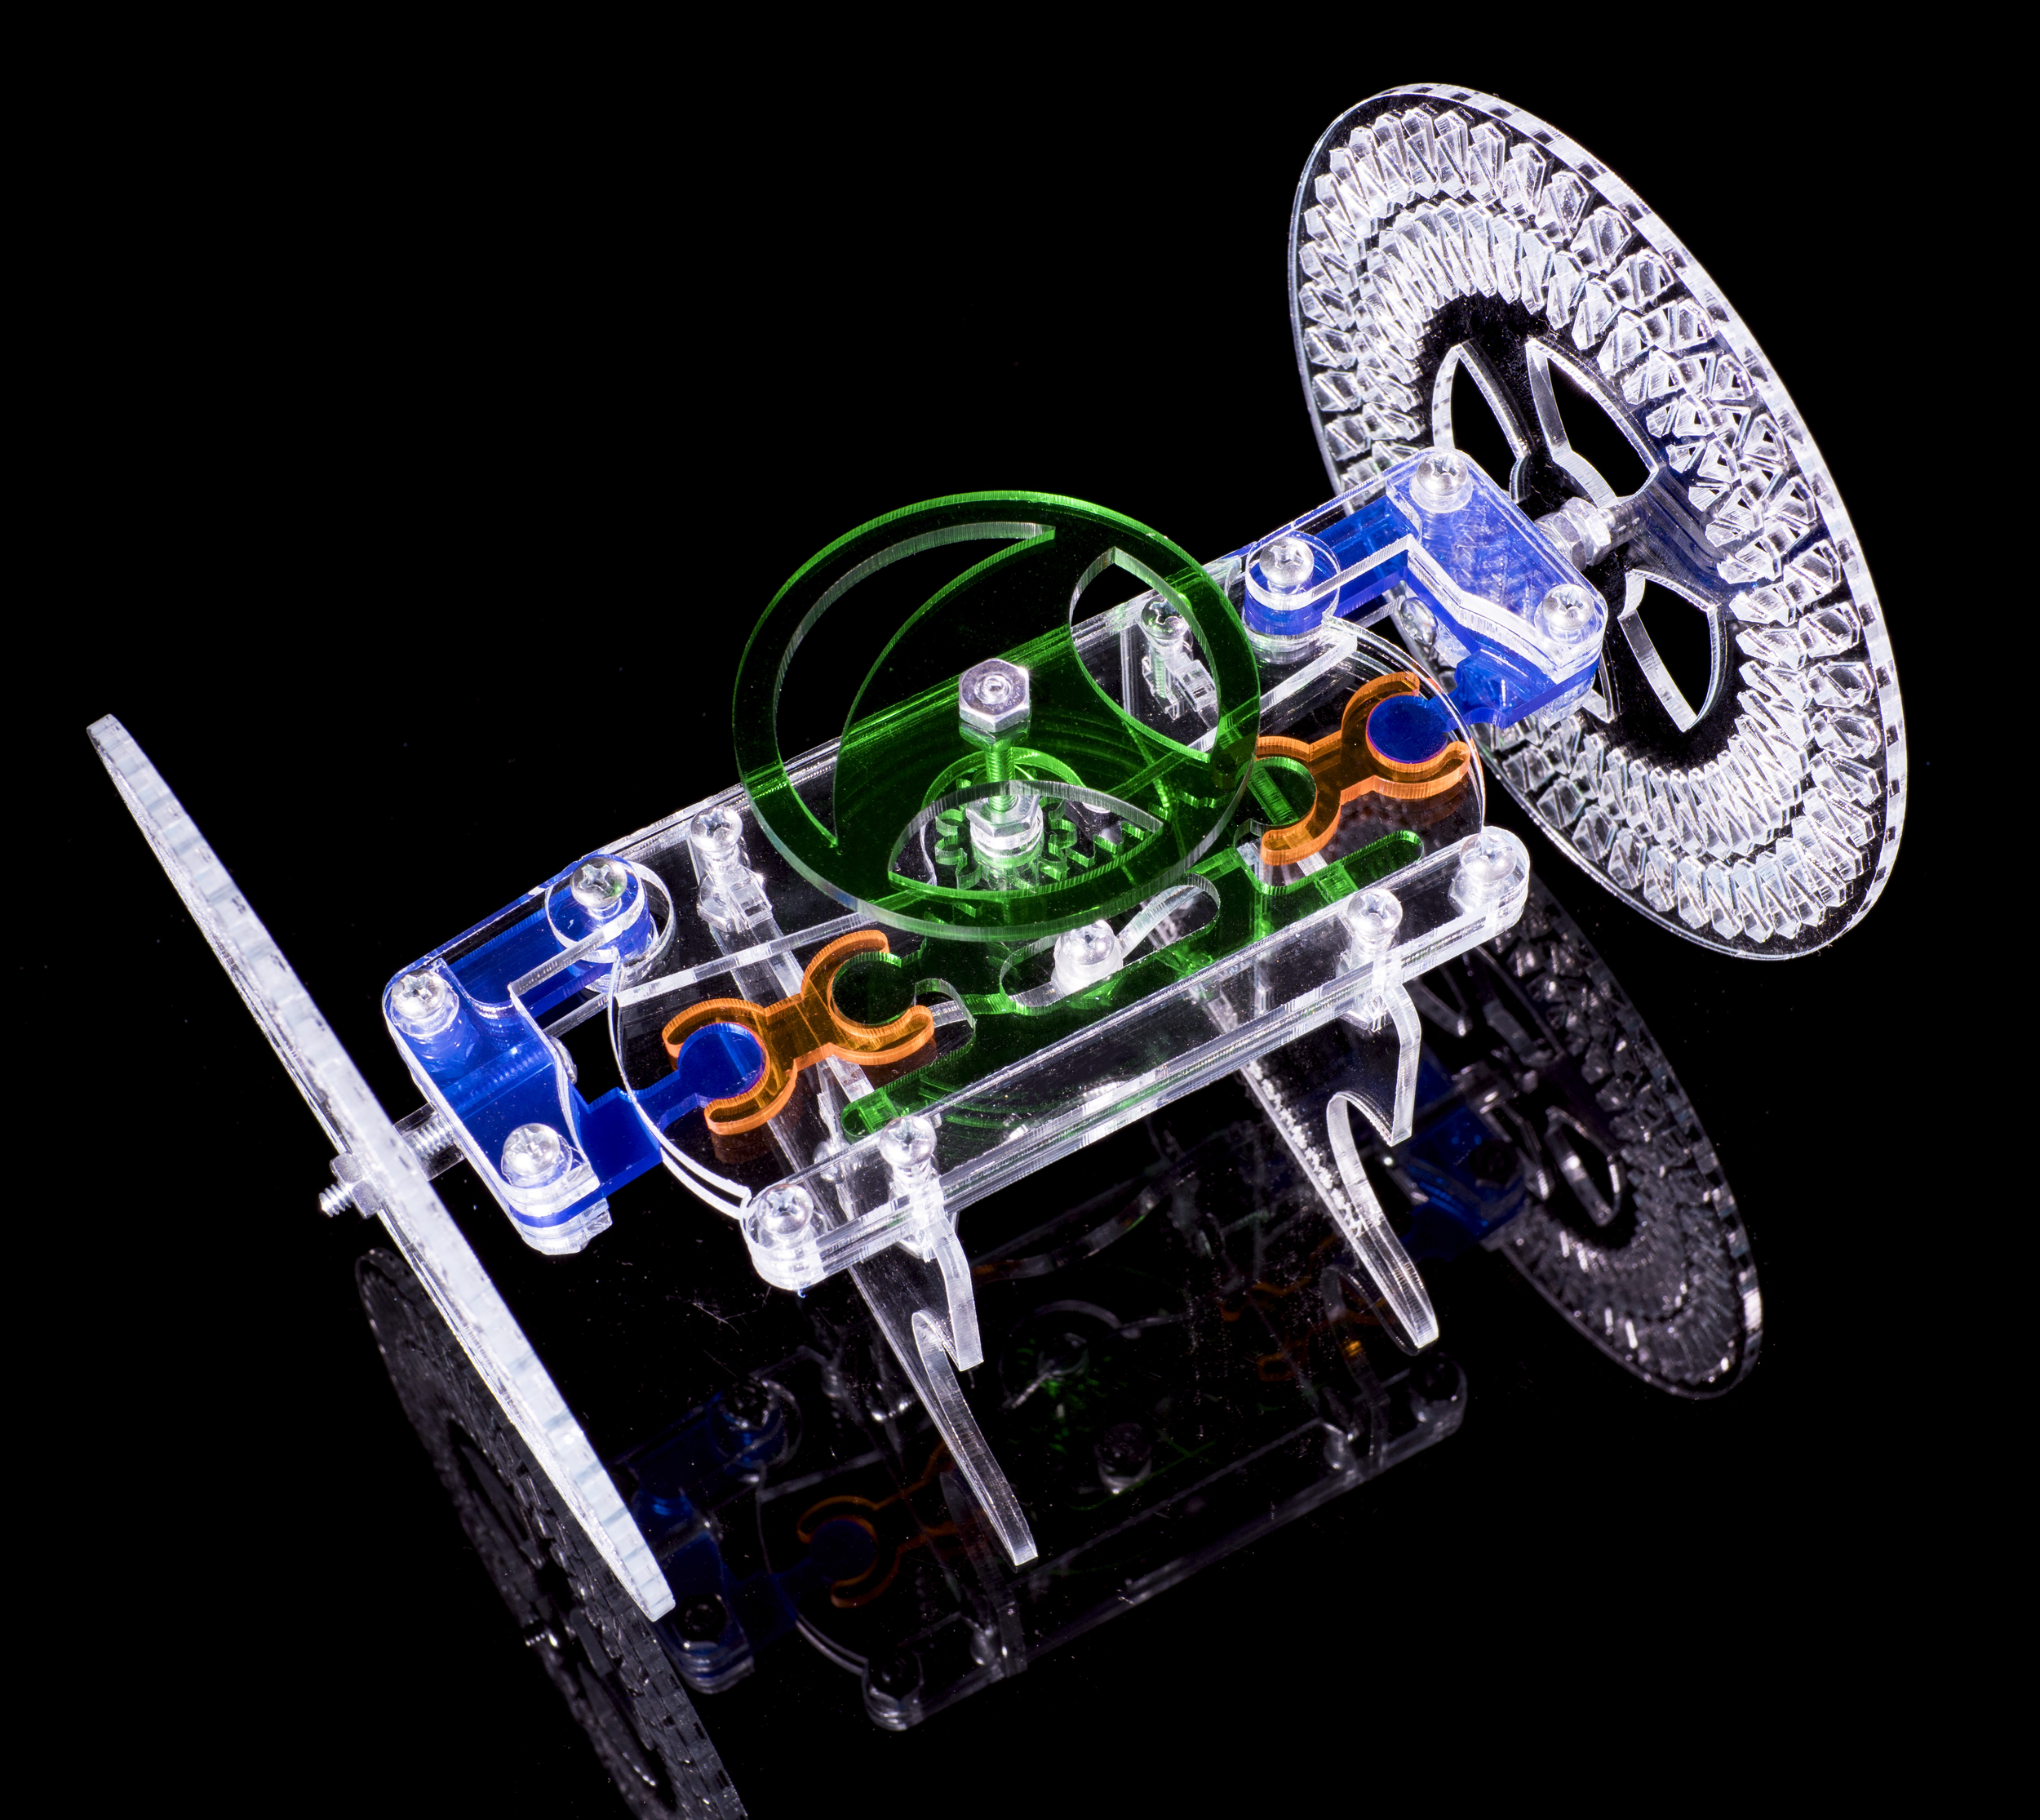
Piston and Flywheel
Car Components
Rack-and-Pinion Steering

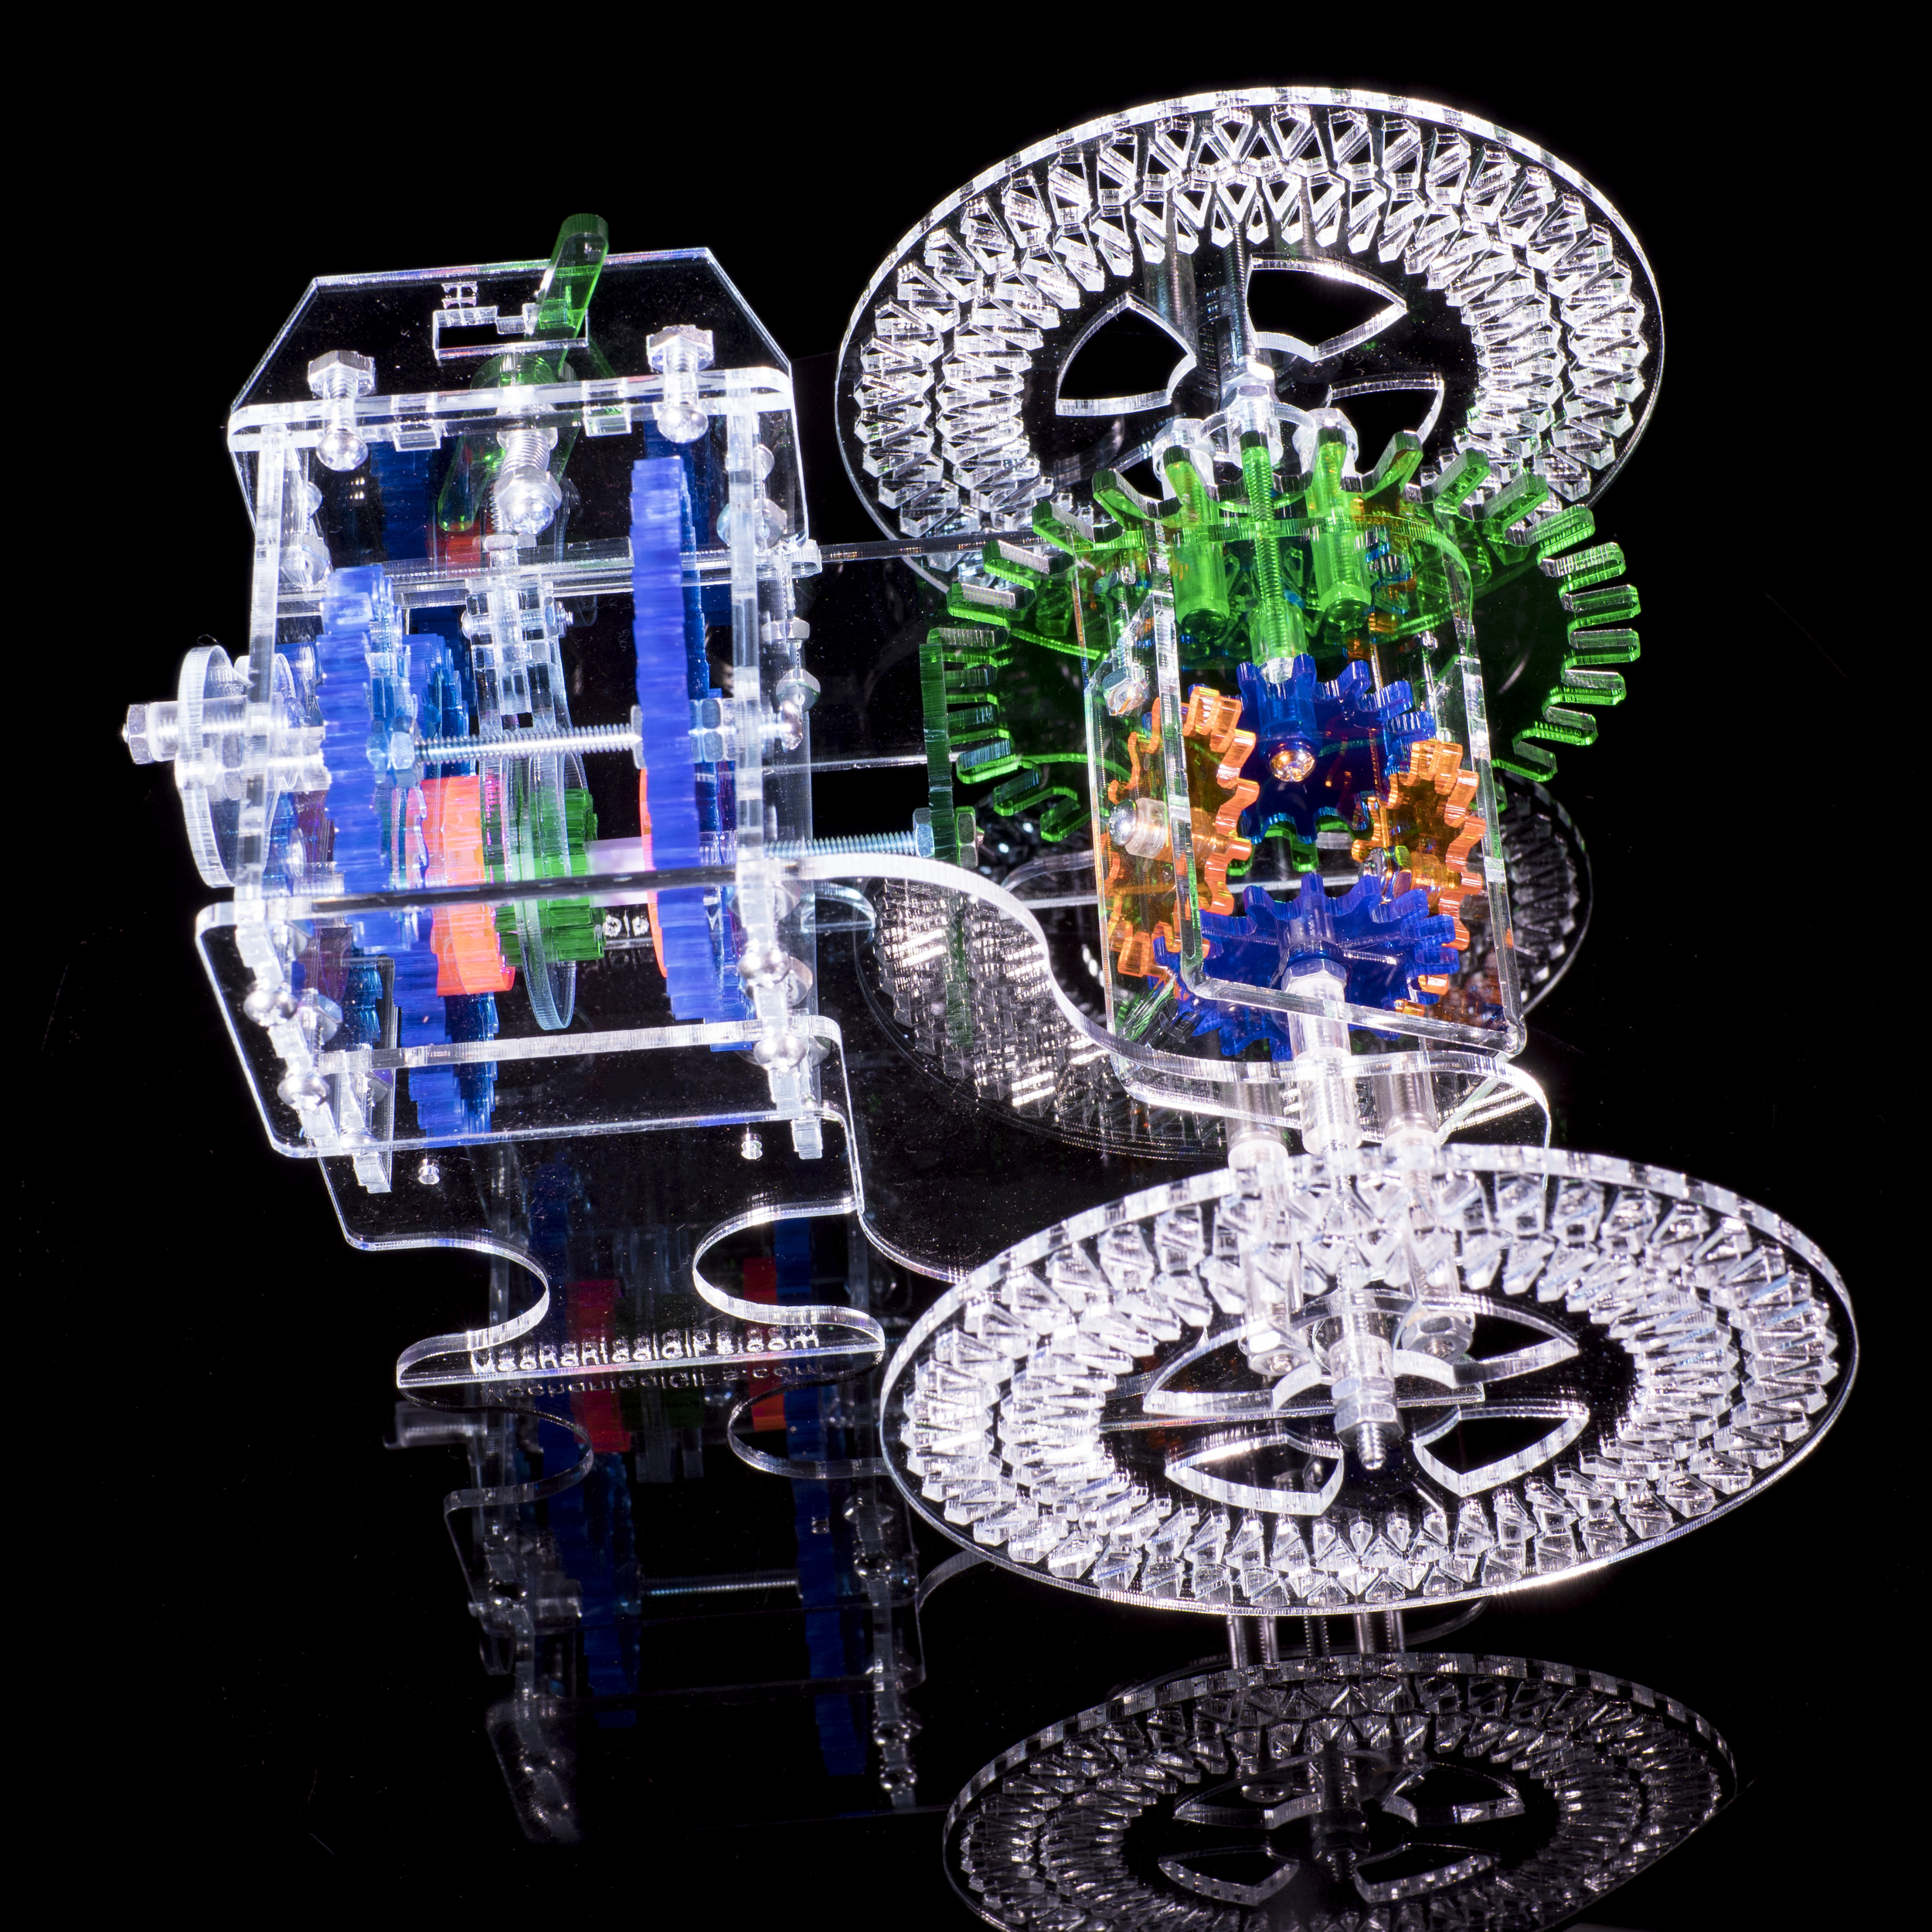
Two-Speed Transmission

Differential
Two-Speed Transaxle
Clocks
Pendulum Clock

Electric Clock

Two-Stage Clock Gear Chain

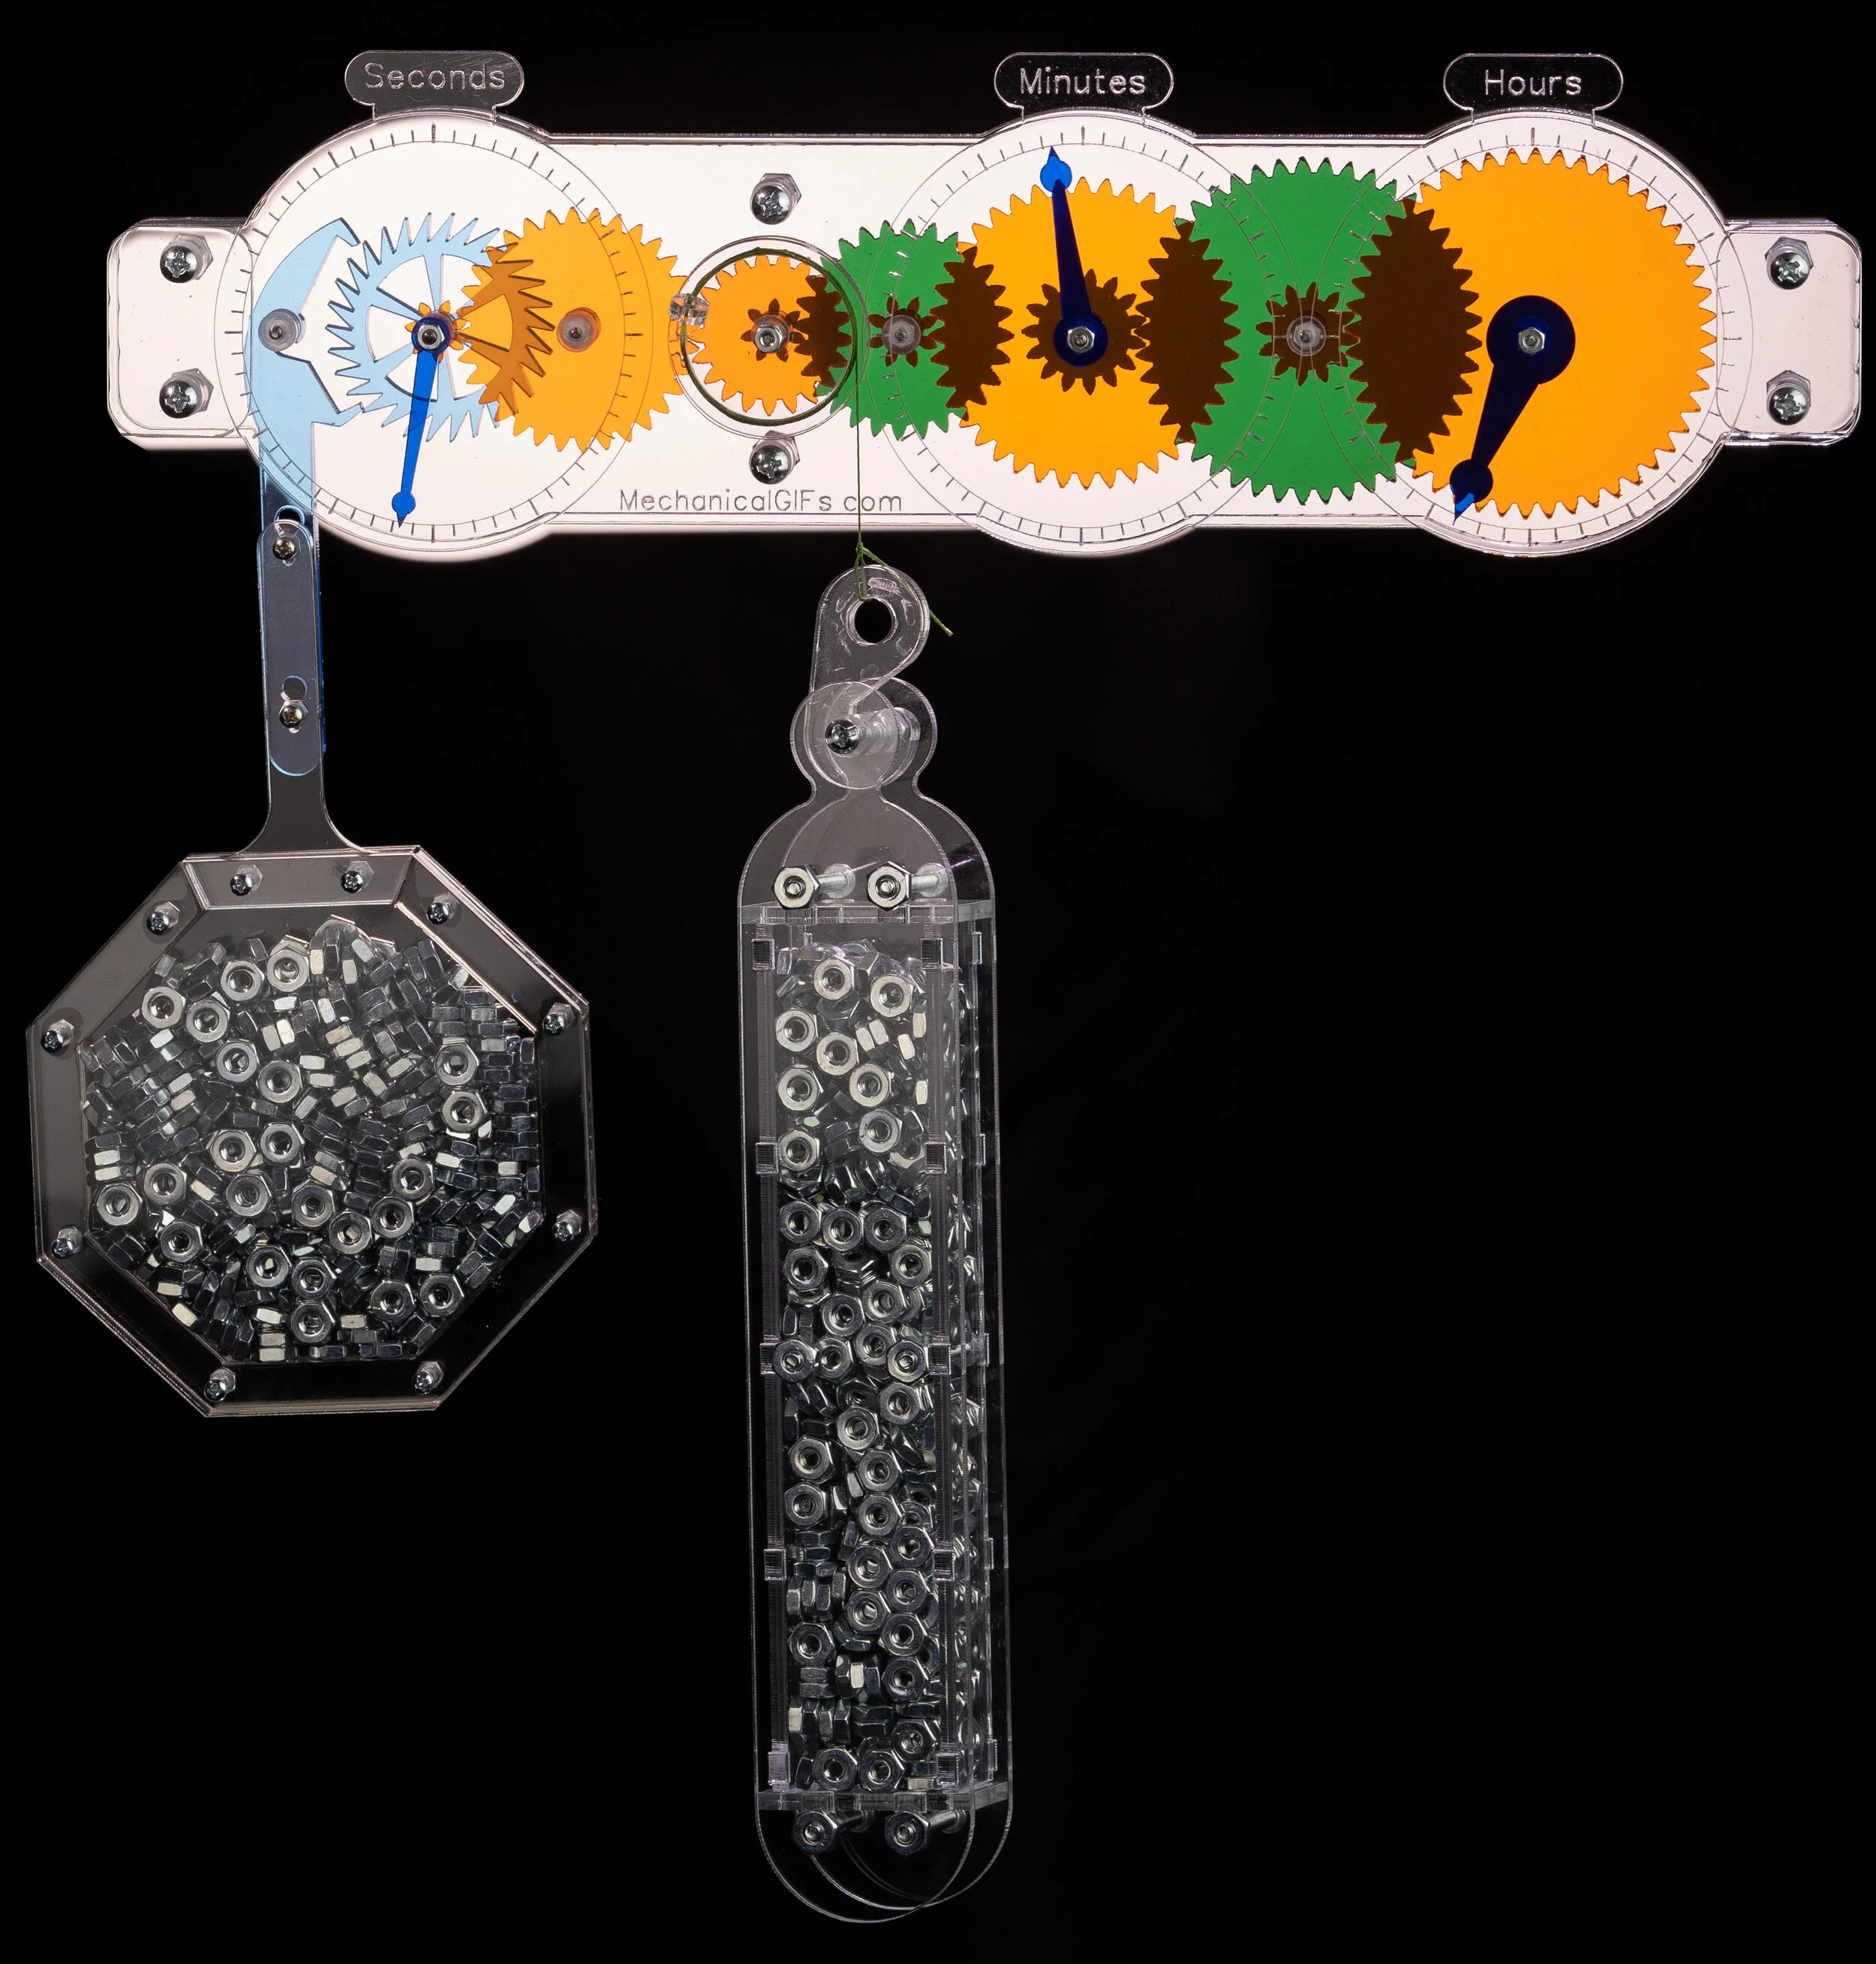
Three-Stage Clock Gear Chain
Mathematical Models

Pythagorean Proof
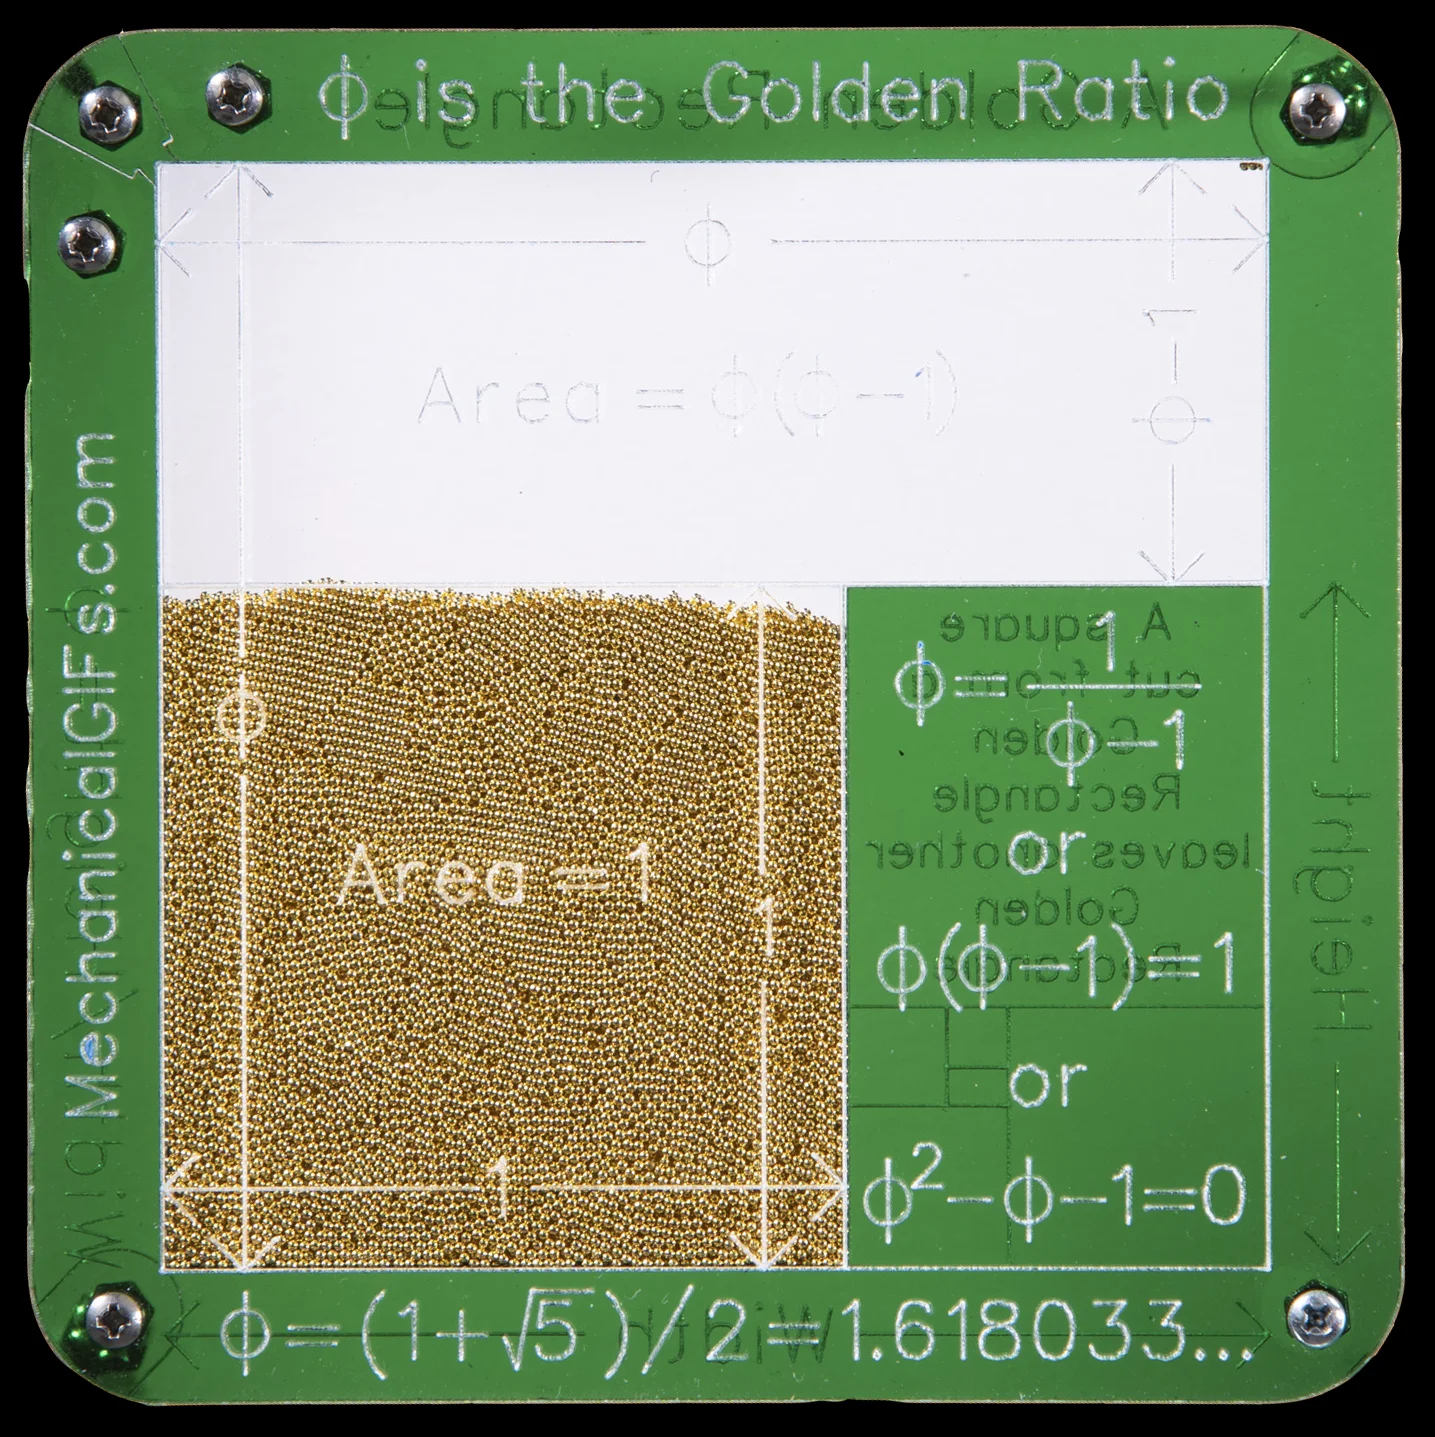
Golden Ratio Proof

Pi Proof